The Windows Snipping Tool is one of the most useful built-in utilities in Windows 10 and Windows 11. Most people use it only to take screenshots, but Microsoft has gradually added several powerful features that make it much more than a simple screenshot tool.
Today, Snipping Tool can record your screen, extract text from images, annotate screenshots, redact sensitive information, and much more—all without installing third-party software.
If you’ve only been using Windows + Shift + S to capture screenshots, you’re missing out on many features that can save time and improve your workflow.
In this guide, we’ll explore the hidden features of Windows Snipping Tool, explain how to use them, and show you why it’s one of the most underrated apps included with Windows.
Table of Contents
What Is the Windows Snipping Tool?
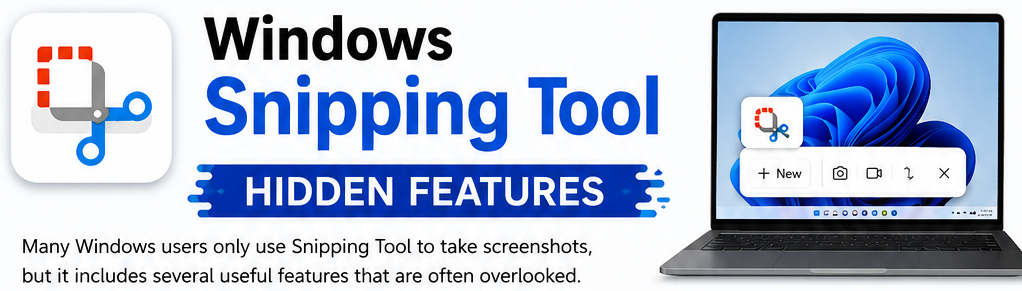
The Snipping Tool is a free screenshot and screen recording application included with Windows. It lets you capture part of your screen, an entire window, or the full desktop, then edit and save the image.
Over the years, Microsoft has added several new capabilities, making the Snipping Tool a practical utility for students, professionals, content creators, IT support staff, and everyday users.
You can open it by searching for Snipping Tool in the Start menu or by pressing Windows + Shift + S.
1. Record Your Screen Without Installing Extra Software
One of the biggest improvements to Snipping Tool is built-in screen recording.
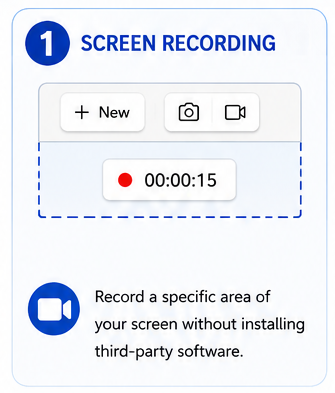
Instead of installing third-party applications, you can record a selected area of your screen directly from Windows.
How to Record Your Screen
- Open Snipping Tool.
- Switch from Screenshot mode to Record mode.
- Click New.
- Select the area you want to record.
- Click Start.
This feature is useful for:
- Software tutorials
- Product demonstrations
- Recording online classes
- Capturing application errors
- Creating quick how-to videos
For basic screen recordings, it’s fast, simple, and doesn’t require additional software.
2. Take Delayed Screenshots
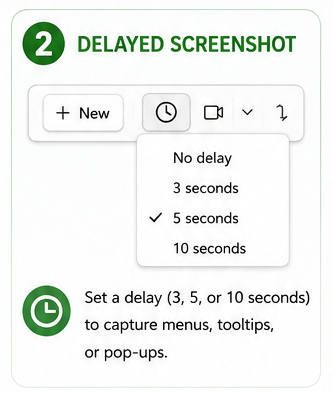
Some interface elements disappear as soon as you click elsewhere. Examples include:
- Drop-down menus
- Right-click context menus
- Tooltips
- Pop-up windows
The Snipping Tool solves this problem with its Delay feature.
You can delay a screenshot by:
- 3 seconds
- 5 seconds
- 10 seconds
How to Use It
- Open Snipping Tool.
- Click the Delay option.
- Choose the desired delay.
- Click New.
- Prepare the screen before the timer expires.
This is particularly useful when documenting software or creating tutorials.
3. Annotate Screenshots
Capturing a screenshot is often only the first step. You may also need to explain what’s important in the image.
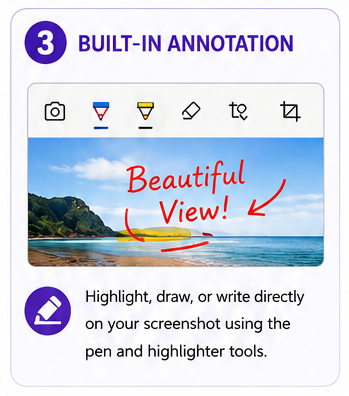
The Snipping Tool includes built-in annotation tools that let you edit screenshots immediately after capturing them.
You can:
- Draw using a pen
- Highlight important text
- Circle important areas
- Erase unwanted markings
These tools are ideal for creating documentation, technical support guides, and educational content.
4. Extract Text from Images (OCR)
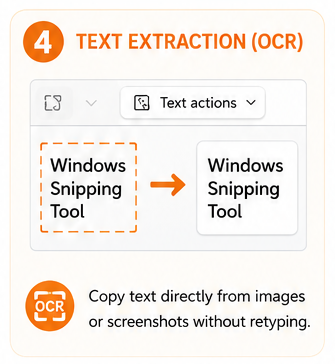
One of the most useful recent additions is Optical Character Recognition (OCR).
Instead of typing text manually from an image, Snipping Tool can detect and copy it automatically.
Examples
You can extract text from:
- Screenshots
- Photos
- PDF pages
- Documents
- Error messages
Why It’s Useful
OCR saves time when you need to copy information from an image without retyping every word.
Students, office workers, and researchers can benefit greatly from this feature.
5. Redact Sensitive Information
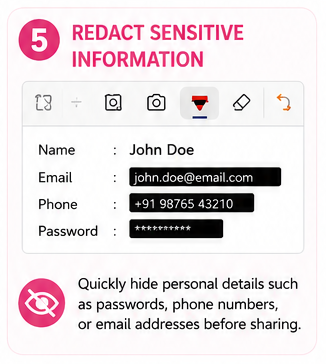
If you’re sharing screenshots online, protecting personal information is essential.
Snipping Tool includes a feature that helps hide sensitive details before you save or share an image.
You can redact information such as:
- Email addresses
- Phone numbers
- Passwords
- Account numbers
- Personal names
- License keys
This reduces the risk of accidentally exposing confidential information.
6. Multiple Screenshot Modes
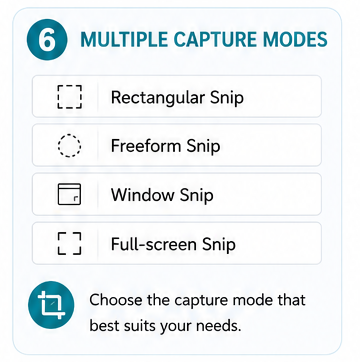
Not every screenshot requires capturing the entire screen.
Snipping Tool provides several capture modes to suit different situations.
Rectangular Snip
Capture a rectangular area of the screen.
This is the most commonly used option.
Freeform Snip
Draw any custom shape around the area you want to capture.
Useful when you need only part of an irregular object.
Window Snip
Capture a single application window without including the rest of your desktop.
Perfect for software documentation.
Full-Screen Snip
Capture the entire display with one click.
Useful for desktop troubleshooting or saving full-screen content.
7. Use the Keyboard Shortcut
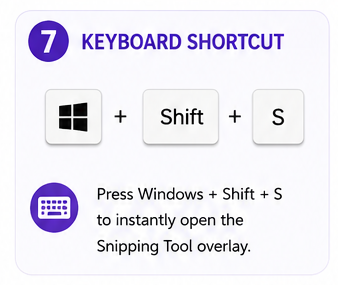
The fastest way to access Snipping Tool is with its built-in keyboard shortcut.
Shortcut
Windows + Shift + S
Pressing these keys opens the capture toolbar immediately.
From there you can choose:
- Rectangular capture
- Freeform capture
- Window capture
- Full-screen capture
This shortcut works almost anywhere in Windows.
8. Automatic Clipboard Copy
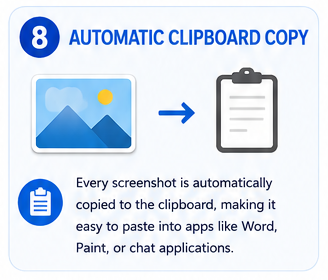
Every screenshot you capture is automatically copied to the Windows clipboard.
This means you can immediately paste it into applications such as:
- Microsoft Word
- Paint
- Outlook
- Microsoft Teams
- Slack
- Discord
- WhatsApp Desktop
Simply press:
Ctrl + V
There is no need to save the screenshot first.
9. Save Screenshots in Different Formats
After editing your screenshot, you can save it in multiple file formats depending on your needs.
Common formats include:
- PNG
- JPG
- GIF
Which Format Should You Choose?
PNG
Best for screenshots with text and sharp graphics because it preserves image quality.
JPG
Produces smaller file sizes, making it suitable for websites and email attachments.
GIF
Useful for simple graphics that require limited colors.
For most users, PNG remains the best choice.
Pro Tip: Automatically Save Screenshots
By default, screenshots may only be copied to the clipboard.
To automatically save every screenshot:
- Open Snipping Tool.
- Click Settings.
- Enable Automatically save original screenshots.
Windows will then keep a backup of every capture, making it easier to locate screenshots later.
Additional Features You May Have Missed
Depending on your version of Windows, Snipping Tool may also include:
- Automatic copying to the clipboard
- Dark mode support
- Share options
- Better touch support
- Improved keyboard navigation
- Faster startup
- Integration with Windows notifications
Microsoft continues to improve the app through Windows updates.
When Should You Use Snipping Tool?
Snipping Tool is useful in many everyday situations.
Examples include:
- Creating software tutorials
- Reporting technical issues
- Capturing online receipts
- Saving important information
- Preparing presentations
- Sharing troubleshooting steps
- Annotating documents
- Extracting text from images
- Recording quick demonstrations
For most Windows users, it covers the majority of screenshot and basic screen recording needs without requiring additional software.
Tips for Better Screenshots
To make your screenshots clearer and more professional:
- Capture only the relevant part of the screen.
- Use annotations to highlight important information.
- Blur or redact personal data before sharing.
- Save screenshots as PNG when image quality matters.
- Organize screenshots into folders for easy access.
- Use delayed screenshots to capture menus and pop-ups.
The Windows Snipping Tool has grown into much more than a basic screenshot application. With features like screen recording, delayed captures, OCR, annotations, automatic clipboard copying, and privacy tools, it can handle many tasks that once required separate software.
Whether you’re a student taking notes, an IT professional documenting issues, a teacher creating tutorials, or simply someone who frequently captures screenshots, learning these hidden features can make your work faster and more efficient. By taking advantage of everything the Snipping Tool offers, you can simplify everyday tasks without installing additional applications.